When I had my son at the end of 2009, I convinced my husband that we needed a new bed. The old one was 10 years old and I wanted to upgrade to a king this time around. The master bedroom in my house is huge, so we definitely had the space. The previous owners put a 500 square foot addition on our ranch that makes up our office and master bedroom. Our queen sleigh bed looked small in the large space.
The new king mattress fit nicely into our space, but my sleigh bed, which was made for a queen, was relegated to the attic to sit in storage. For the next 5 years, our bed was a big mattress set on a metal frame.
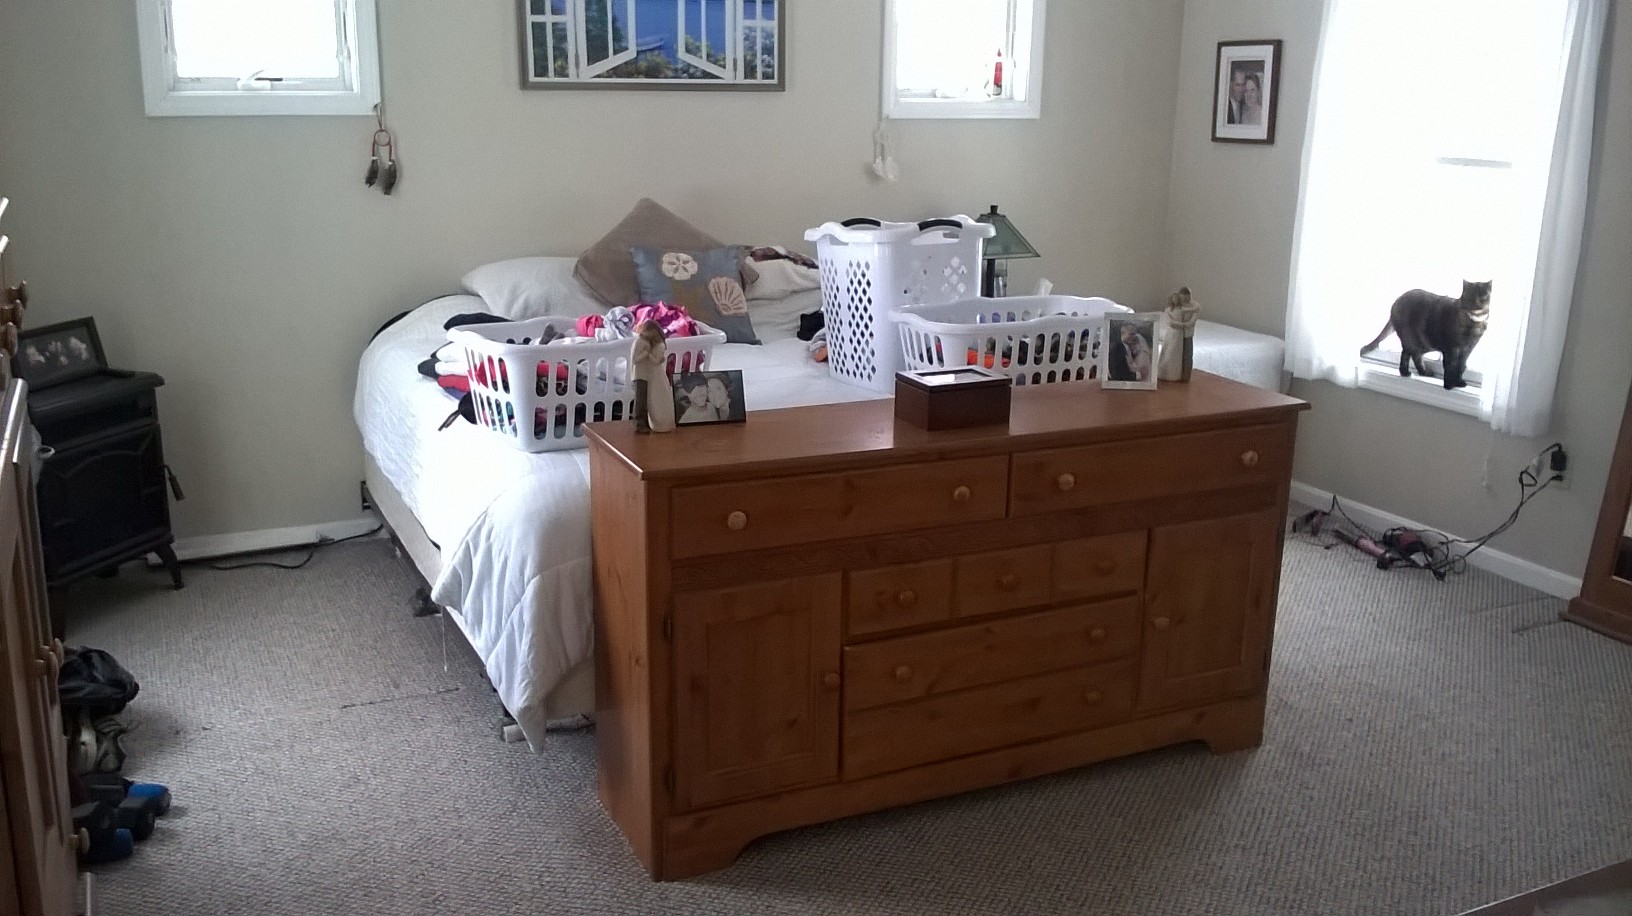
Enter my bff, Pinterest, and I figured out how I could pretty up my bed. Here’s a before shot. (When I snapped this photo, I was playing around with the idea of using my bureau as a footboard. I was also doing laundry. Let’s just pretend it’s not there.)
 I visited Habitat for Humanity’s Re-store with my friend Denise, and I came home with this door for only $25.

The “Princess door.”
The princesses were a bitch to get off. I used nail polish to remove them, but that only took off the color. The dark outline of each princess was still clear as day. So, because I was wanting to move on, I just sanded it down and figured the first coat of paint would cover them up.
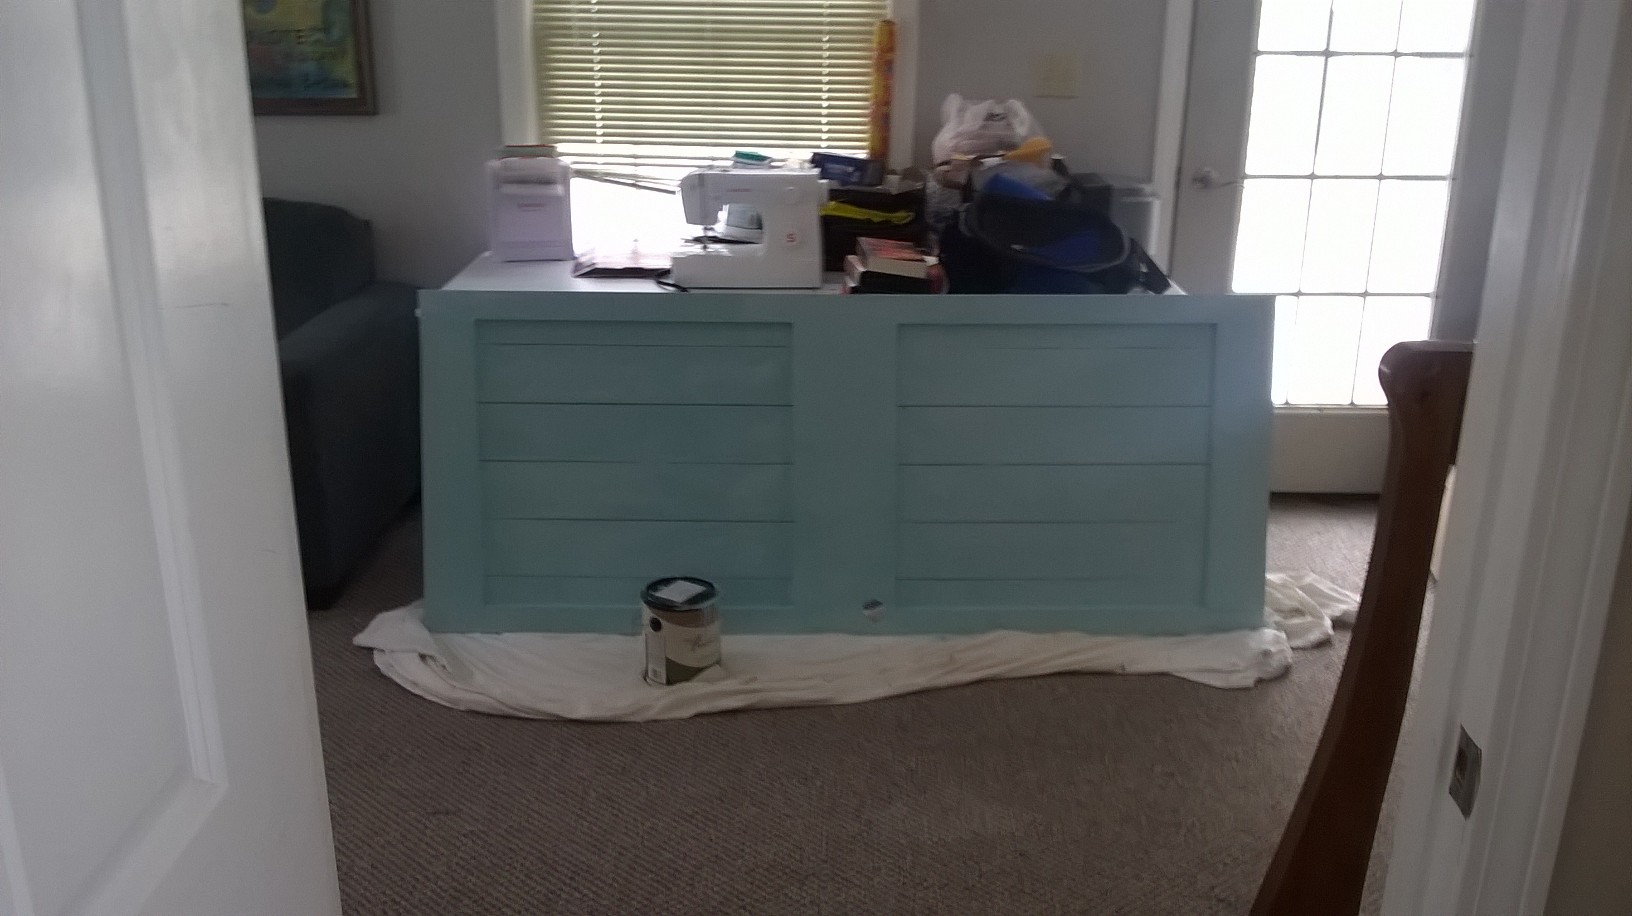
After the first coat of paint.
I chose a light teal color. First, because I liked it, and second, because I had some left over from when we painted the playroom walls the same color. I picked up a 7 foot piece of vinyl molding/trim from Home Depot for $7 and a big bottle of wood glue for $3. Using my husband’s circular saw (I have no idea what it’s proper name is) I cut the trim to the width of the door. I used the wood glue to attach the trim to the top of the door and added a second coat of paint.
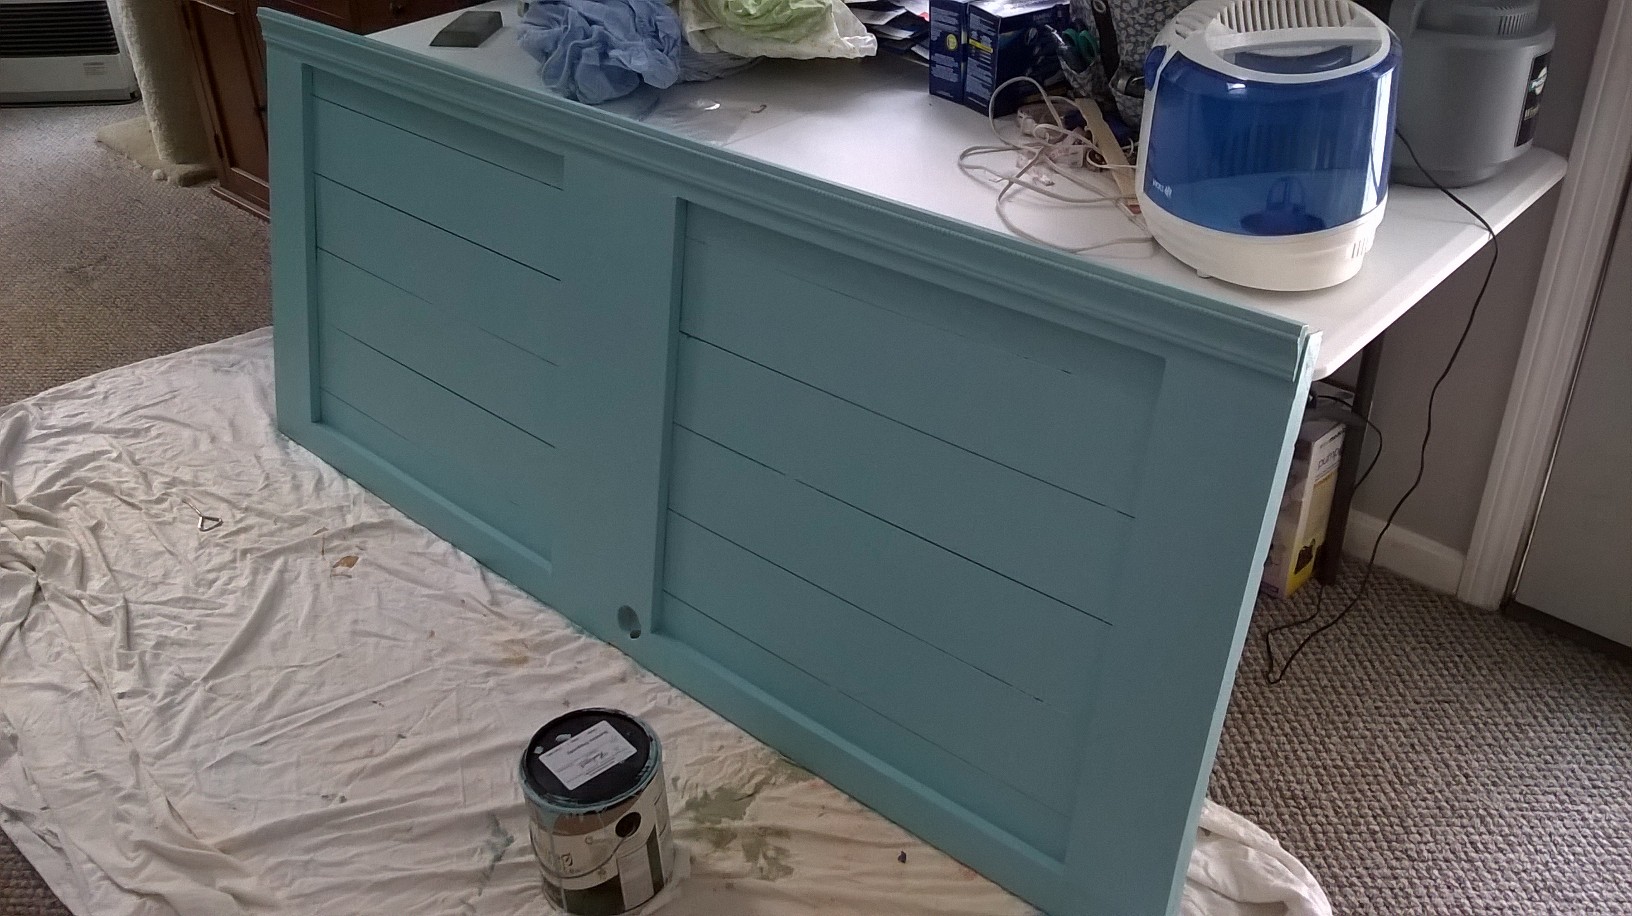
Trim and second coat of paint? Check!
Once the paint was dry, I had to figure out how I was going to mount this thing. I didn’t have any other wood to make “legs” to keep the headboard up off the floor, so I decided I would nail it directly to the wall. But the door was too heavy for me to both hold in place and nail to the wall at the same time.
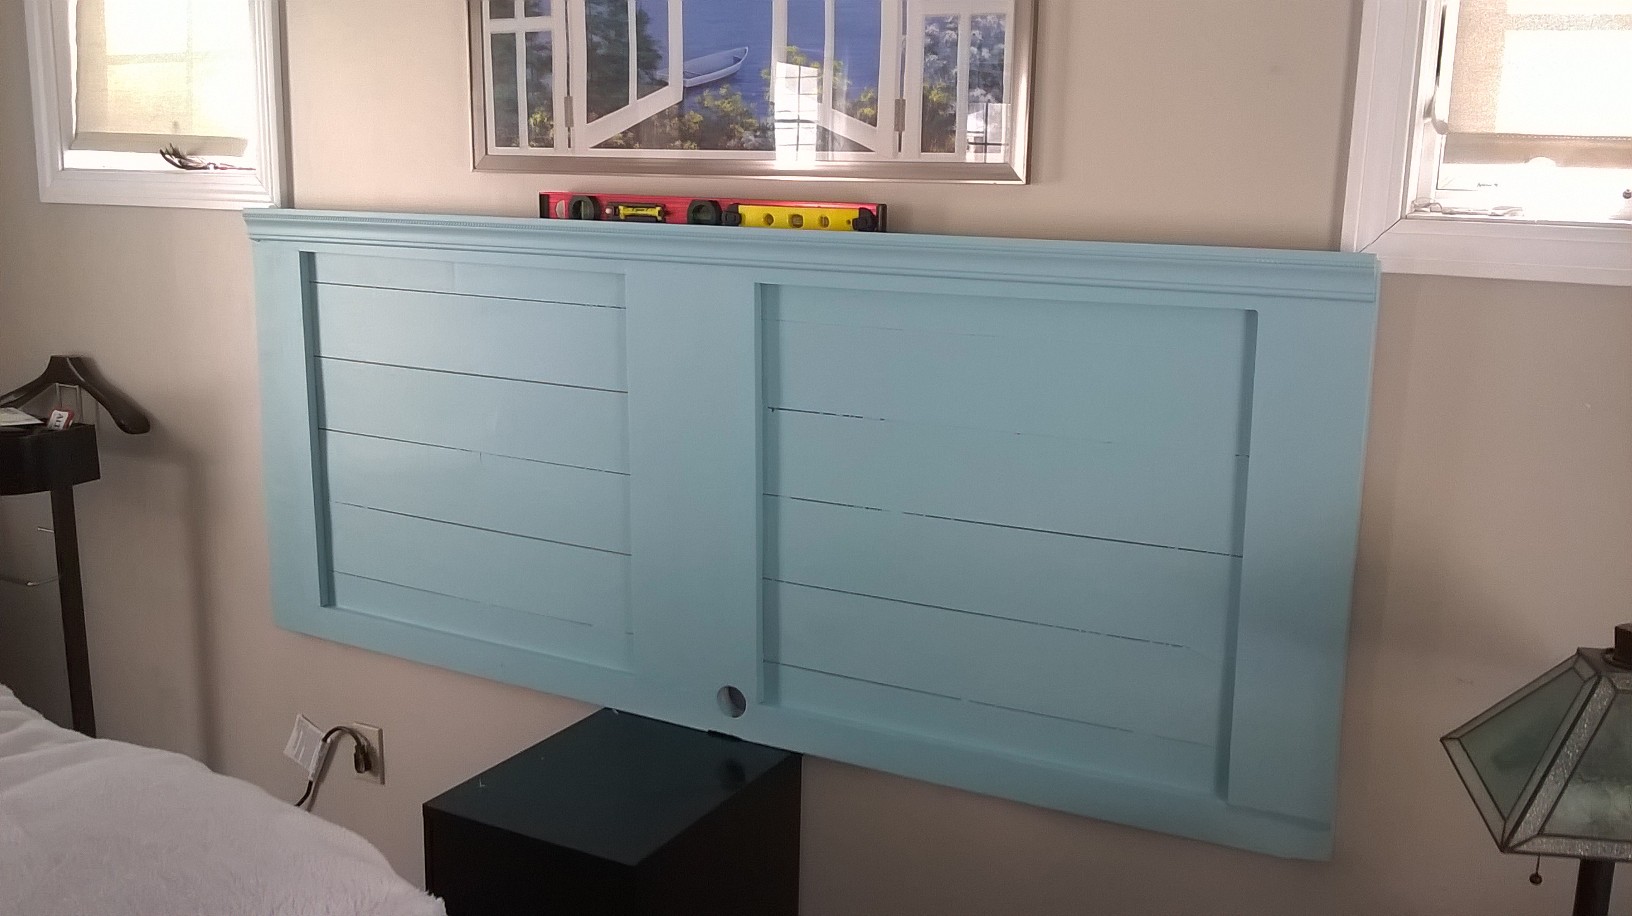
It just so happens that one of my filing cabinets was the exact height that I wanted the bottom of the headboard to be off the floor! Yay for things working in my favor! My level told me everything was perfect.
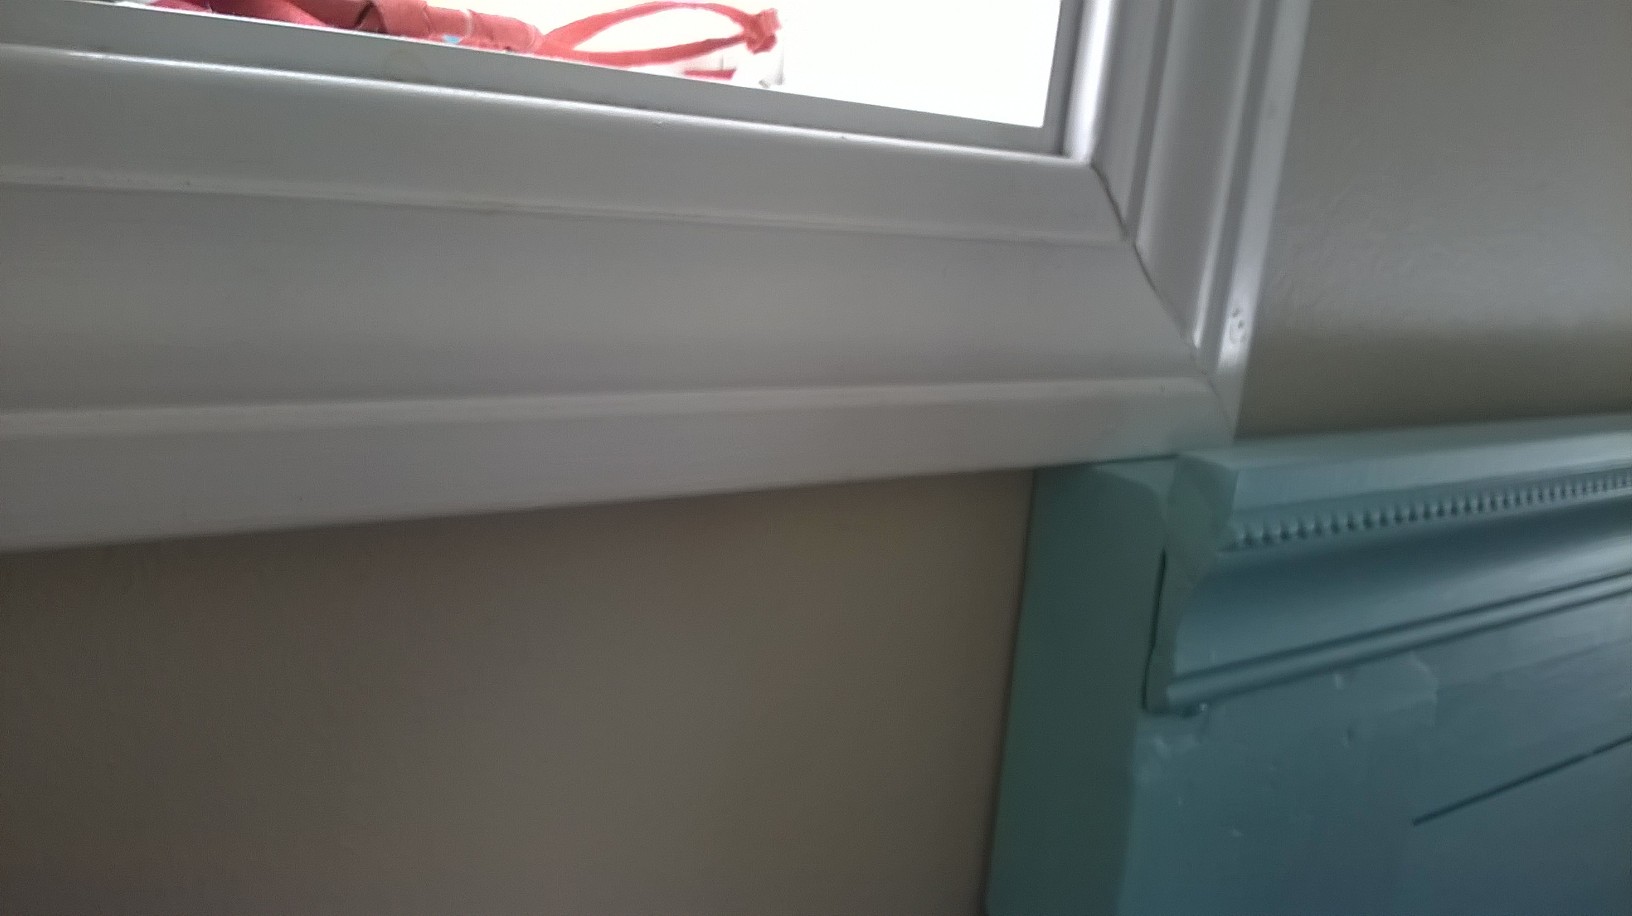
Fitting flush underneath the window trim.
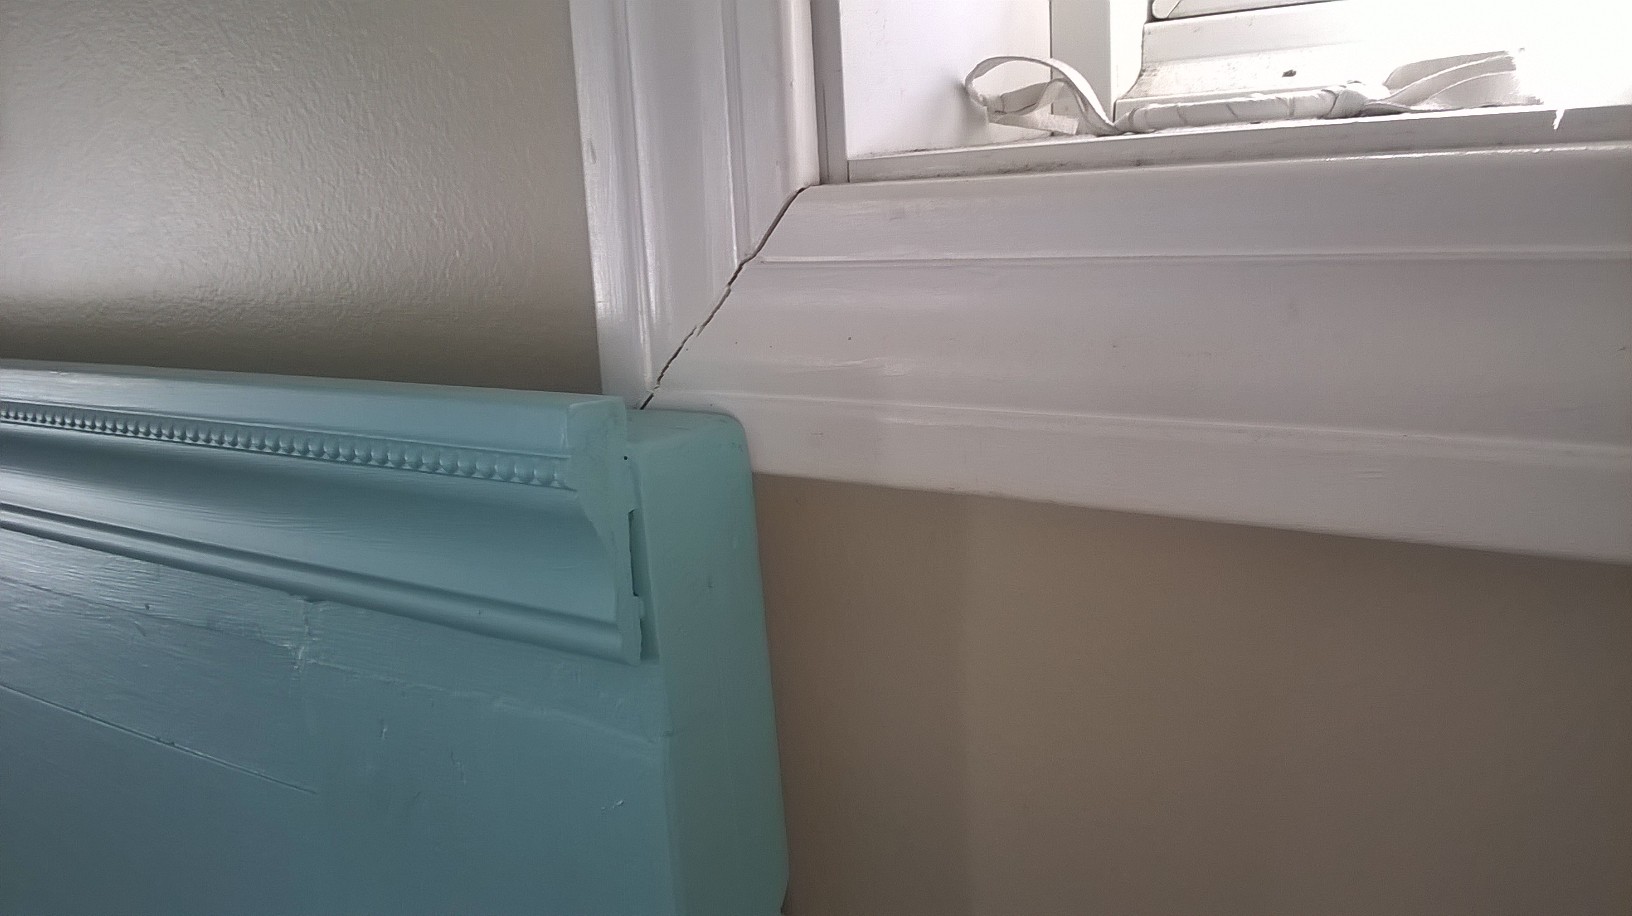
This drives me completely crazy!
Apparently, the builders of my master bedroom didn’t line up the bottom of the two windows exactly. What the heck people?! Aren’t you all anal retentive like me? Why can’t everything line up correctly? This tiny little snag was quite the conundrum for me. Do I hang the headboard according to the level, which makes the right corner cover the bottom corner of the window trim? Or do I move the right side of the headboard down a teeny tiny bit to fit flush underneath the window trim, leaving the headboard slightly tilted to the right? I chose the latter.
Nailed it!
Side view.
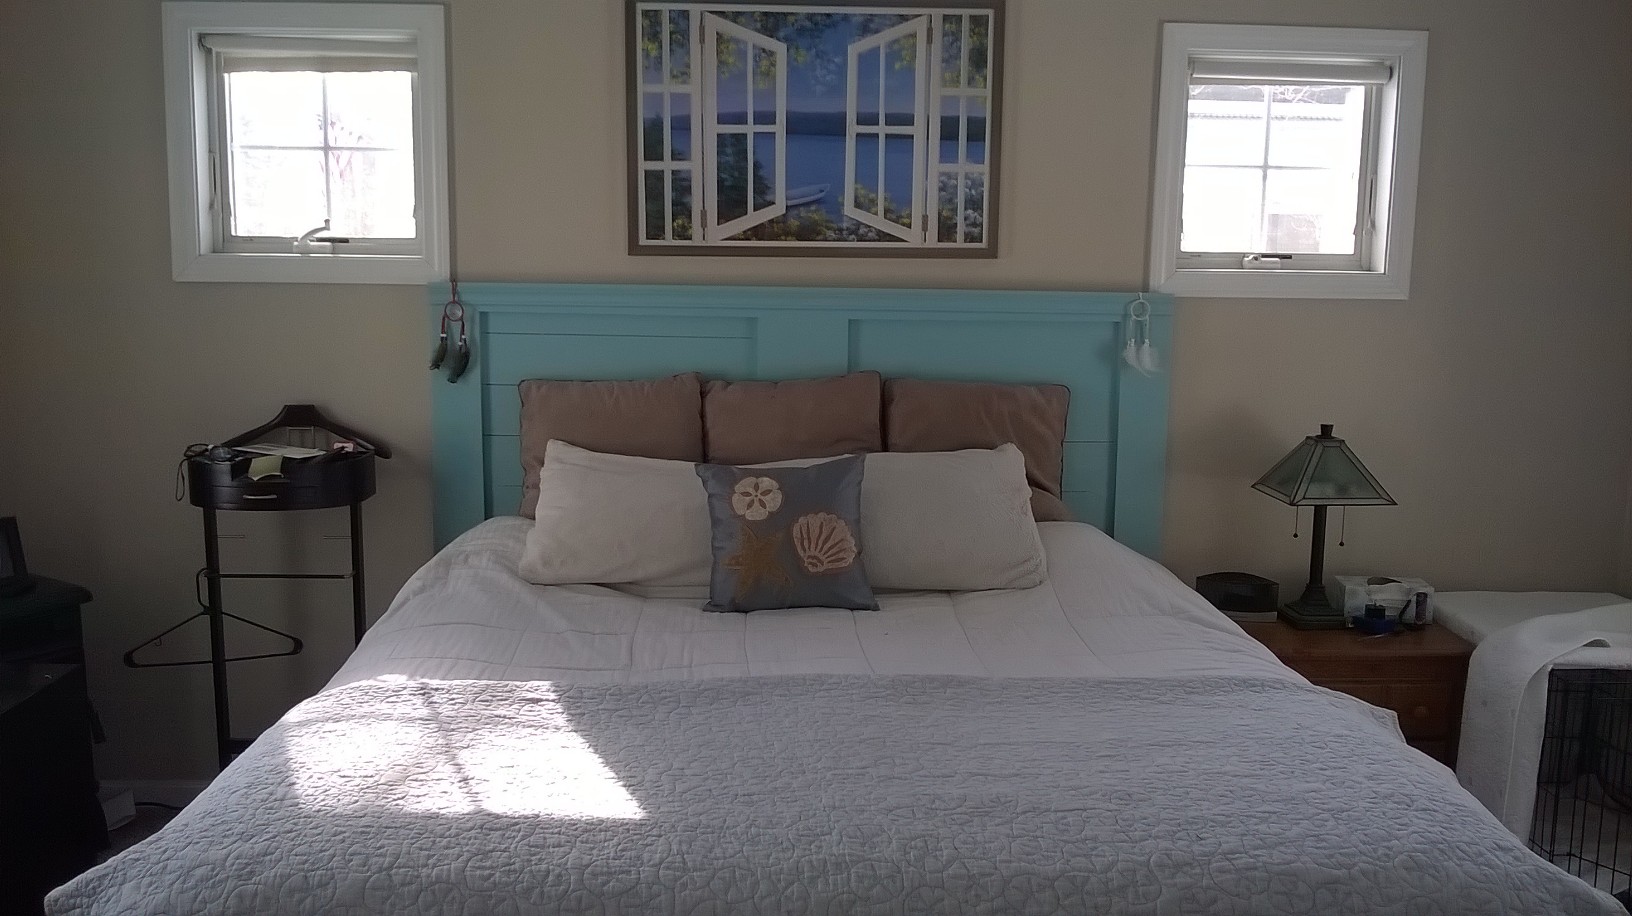
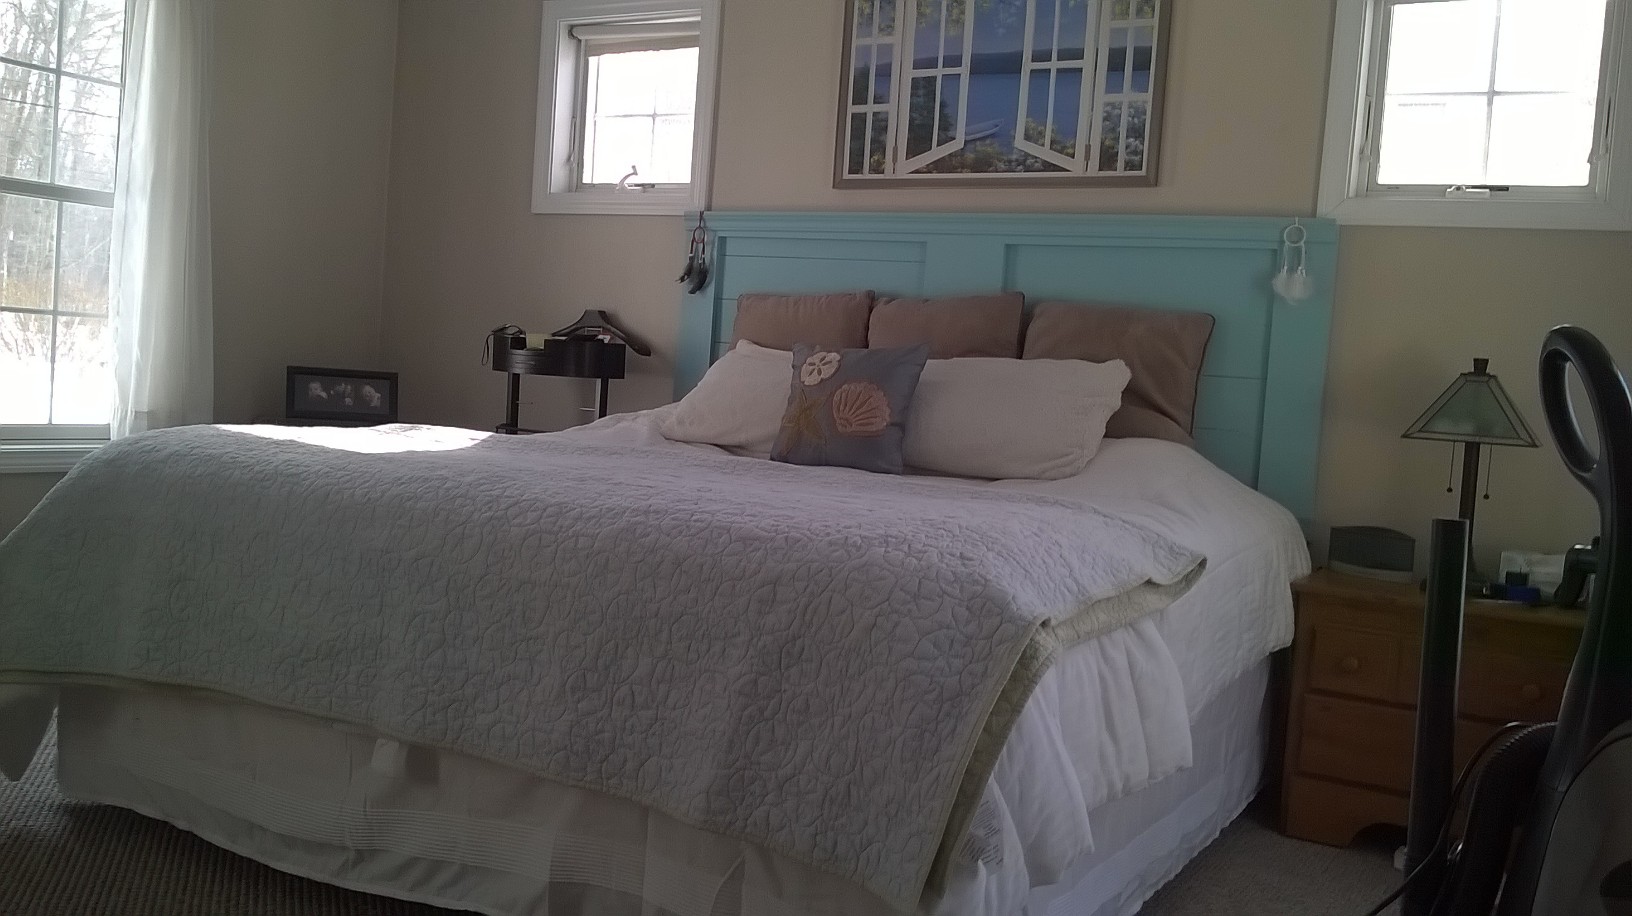
Not too bad for $35. Once my headboard was in place, I bought a new duvet cover to spruce things up.
And voila!

My coastal-colored bed. My husband hates the ruffles. I think they make it look romantic.

Great job, that is so pretty! You are very handy!